Extend Selection - F8Selecting text with the mouse can be frustrating, especially when you’re grabbing a large block of text that spans pages. Certain Word features can sometimes make selecting text with the mouse even more annoying. For example, the option “
When selecting, automatically select entire word,” causes the selection to jump to the end of words, making it difficult to capture just a portion of a word. Word’s “
Use smart paragraph selection” feature, which automatically captures the paragraph mark at the end of paragraphs, can also get in the way. The feature is helpful when your intention is to copy a paragraph’s formatting along with its text, but if all you want are the words, you’ll have cleanup to do after pasting or applying formatting to the selection.
“Keyboard freaks” like me and former WordPerfect users will appreciate the Extend Selection feature. By activating Extend Selection with
F8, you can select text by using standard navigation techniques such as the arrow keys on your keyboard
[1] or more complicated maneuvers such as
Ctrl + Home to select from your cursor to the beginning of the document, or
Ctrl + Page Down to select from the cursor to the top of the next page or next occurrence of whatever is defined by the
Browse Object. When you’re finished selecting, press
ESC to cancel Extend Selection (your text will remain selected).
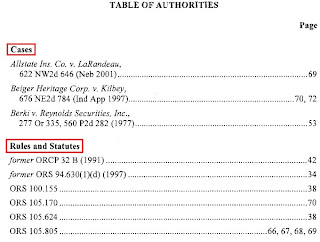
Even more useful is the opportunity to extend the selection to a particular character. For example, say you want to select the citation in the text below to mark it for a table of authorities. If you’ve tried this using the mouse, you’ve probably found it difficult to capture just the citation and not the punctuation that follows it. Begin by positioning the insertion point at the beginning of the citation, press
F8 to turn on Extend Selection, then type a
right parenthesis. The selection will quickly jump to the right parenthesis at the end of the citation.

Pressing
F8 twice selects the current word. Press
F8 again to select the current sentence, once more to select the current paragraph, and once again to select the current section. One more time selects the entire document. If you’ve gone too far with this, just press
Shift + F8 to step back a level (i.e. from selecting the paragraph to selecting the current sentence.)
[1] For this to work as expected, be sure “Smart Cursoring” is disabled.
 How would you go about correcting what appears to be irregular alignment of centered text?
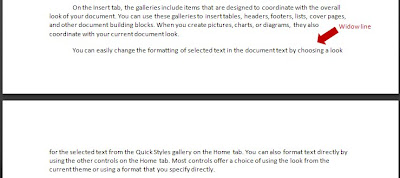
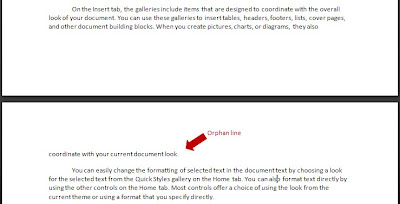
 While seeing formatting marks is important, I don’t like to view them all the time. It makes reading the document for content difficult, and in some cases can change how the document appears to be paginated.


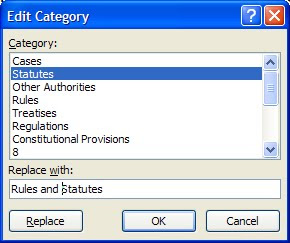
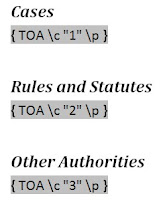
 In the background, Word has assigned numbers to the categories, using the order in which they appear in the Category list. For example, in the example above, Cases is category 1, Statutes is category 2 and Other Authorities is category 3.


_593.jpg)